
As promised, a quick post about how to create a terrarium. The ‘quick’ part isn’t because I am not taking time to write out the details but rather because it’s so simple that a great deal of details are not required. You will need a follow a few basic steps to create a terrarium:
Container. This can be any size and may be as simple as the popular mason jars or you can fancy it up with glass apothecary jars. I am working with a pretty large apothecary jar (about 24″ tall) and another smaller apothecary jar (about 16″ tall).

After adding the Activated Carbon to the bottom, make sure to clean any black residue off the glass before proceeding.
Activated Carbon. You can purchase a jar of this in any WalMart over in the aquarium department. Activated carbon is a form of charcoal that has tons of micro-pores which absorb smells and all sorts of ick that can otherwise grow in the moist, humid environment you’re about to create. I just pour a decent amount into the bottom of the jar. I know it is counter-intuitive to think that the sooty stuff you just added is actually cleaning things but it’s even used to clean the water you drink so it should be good enough for your plants.

Add gravel over the Activate carbon.
Gravel. Any kind will do but I like the fine gravel used for fish tanks because it has a coating on the rock that ensures it will stay shiny. I avoid the neon colors but you’re more than welcome to use them~! I generally try and make a bit of a ‘well’ in the center so that when I plop the moss in the middle, the soil will be hidden from view. This is just a personal preference- there is nothing wrong with showing the soil layer too.
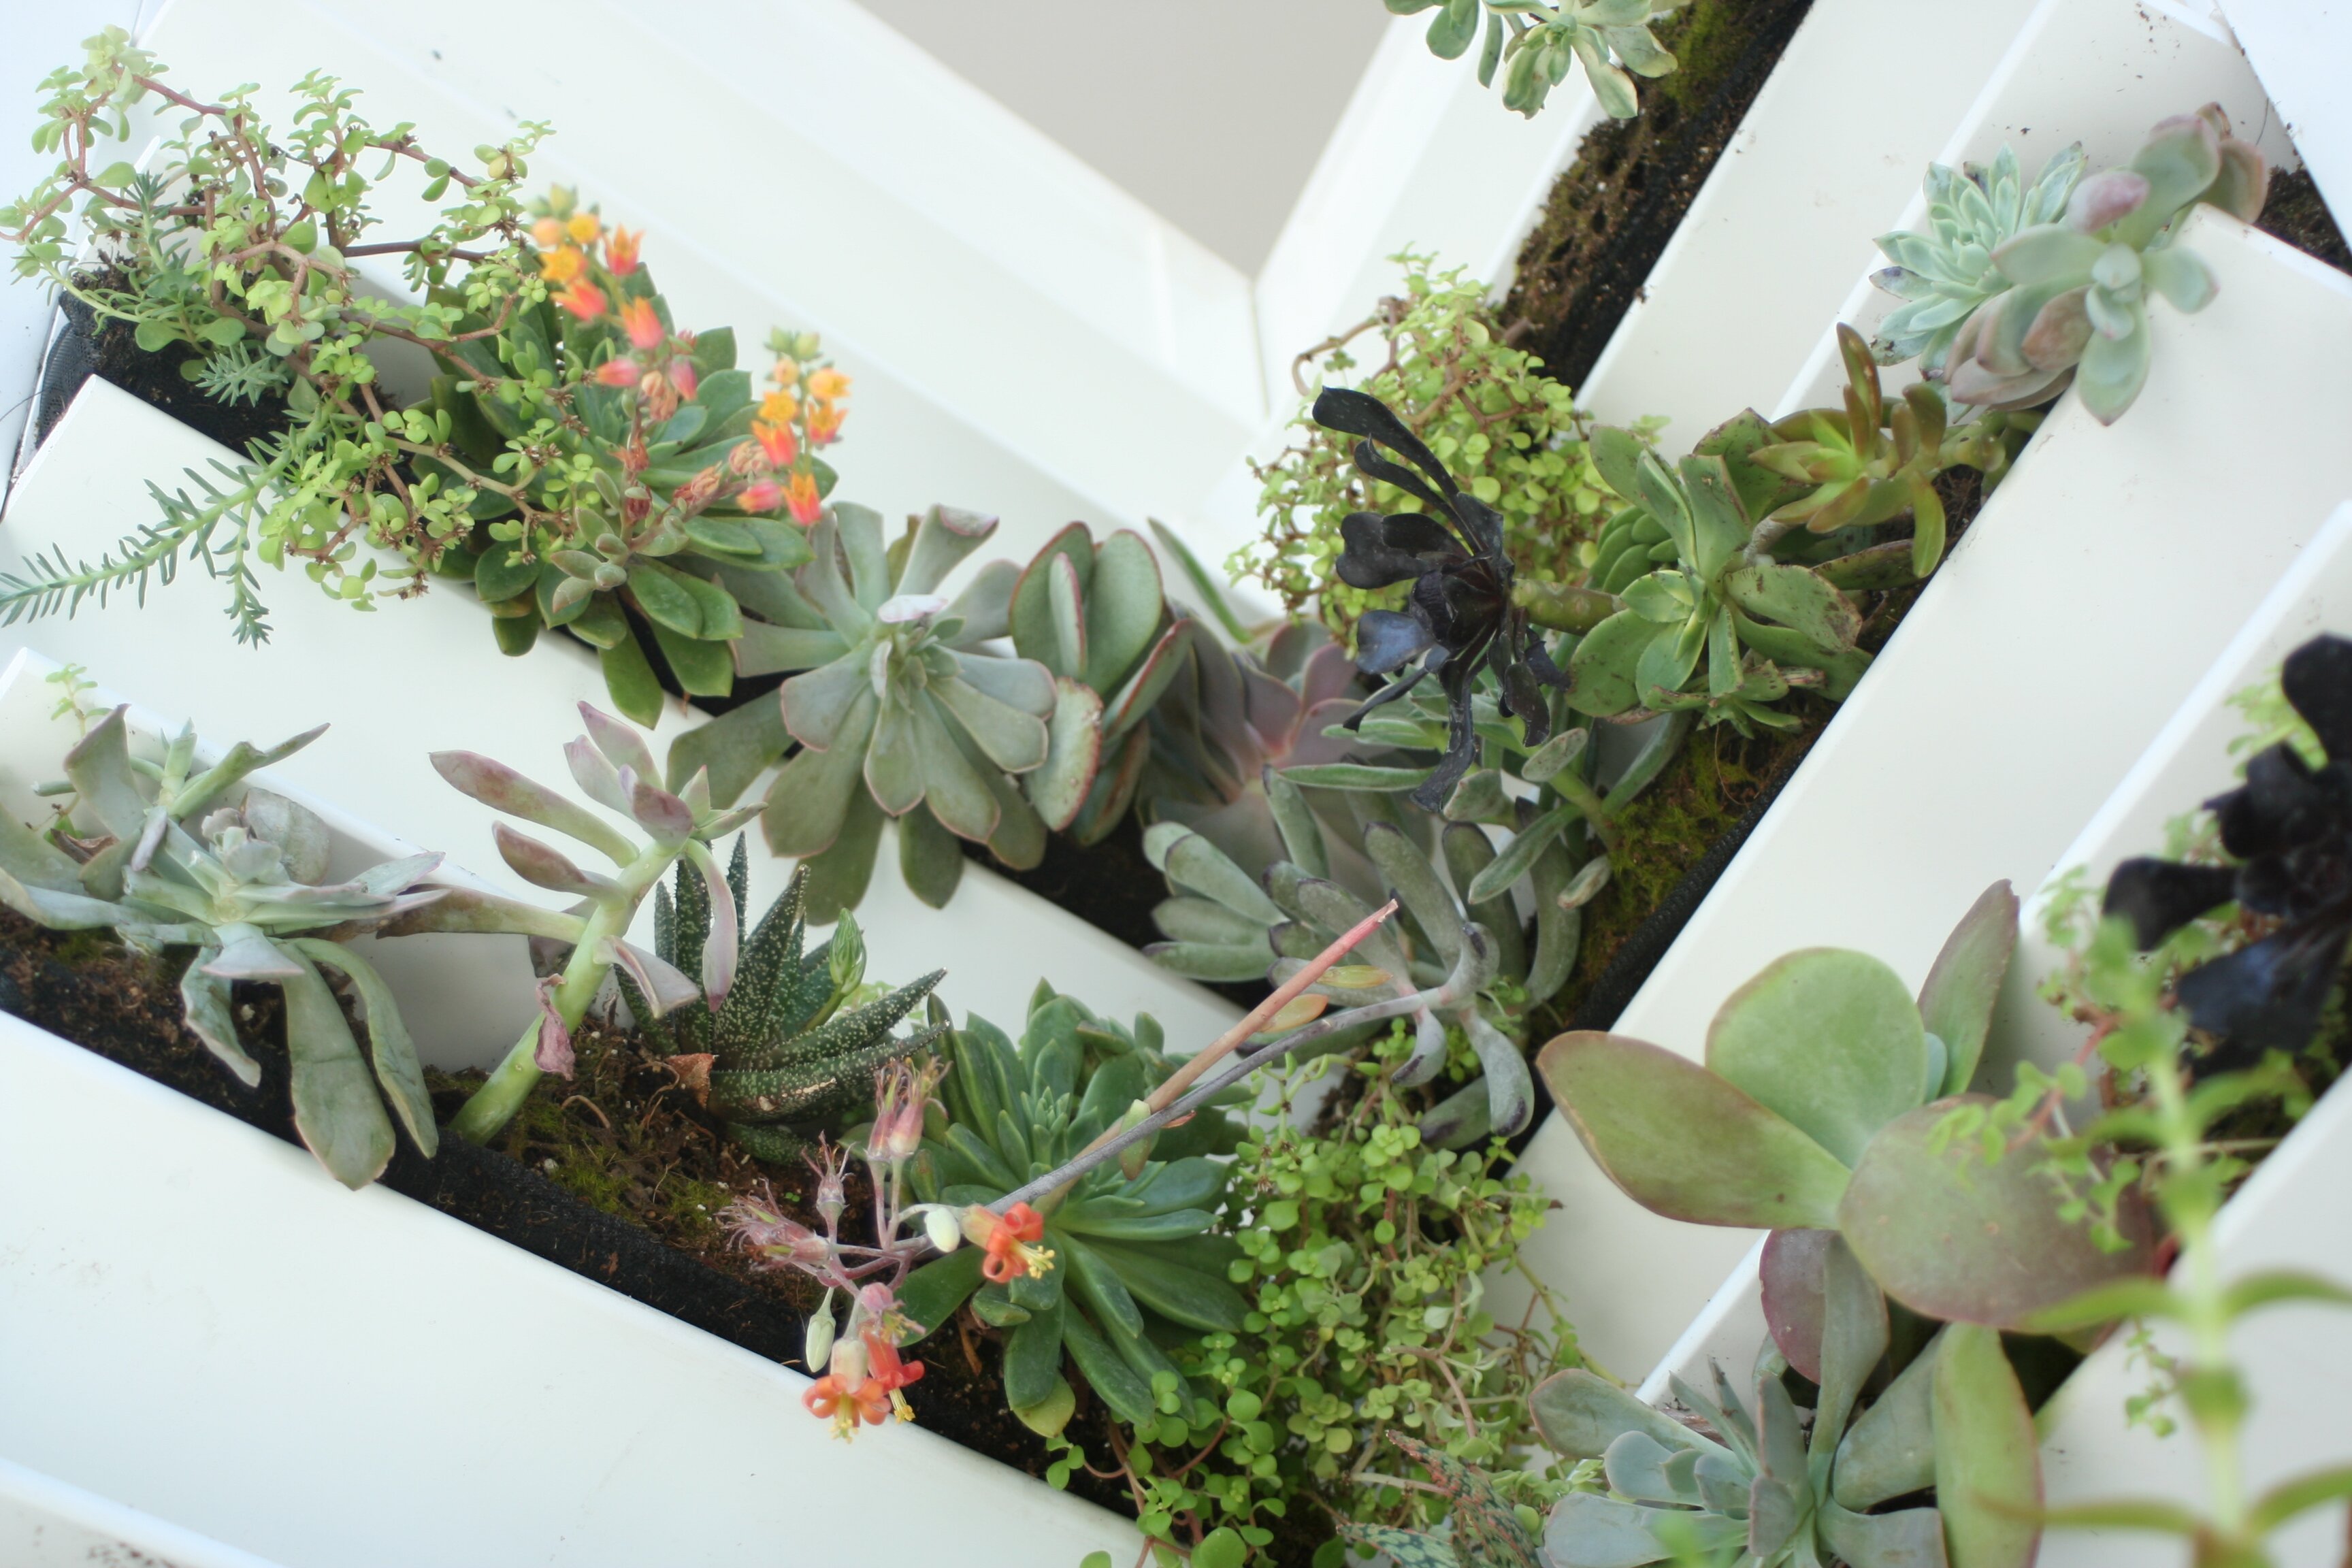
Note- if you like the planter table the project is being built on, you can get a tutorial for the “Succulent Pallet Table” that I built HERE.

Chartruse Scotch Moss and Deep Green Irish Moss can be purchased from any decent nursery.
Moss or other moisture-loving plants. Moss can be harvested from your own yard (depending on where you live) or you can cheat, as I did, and purchase Scotch and/or Irish Moss from the nursery.

Squish the moss down into the gravel.
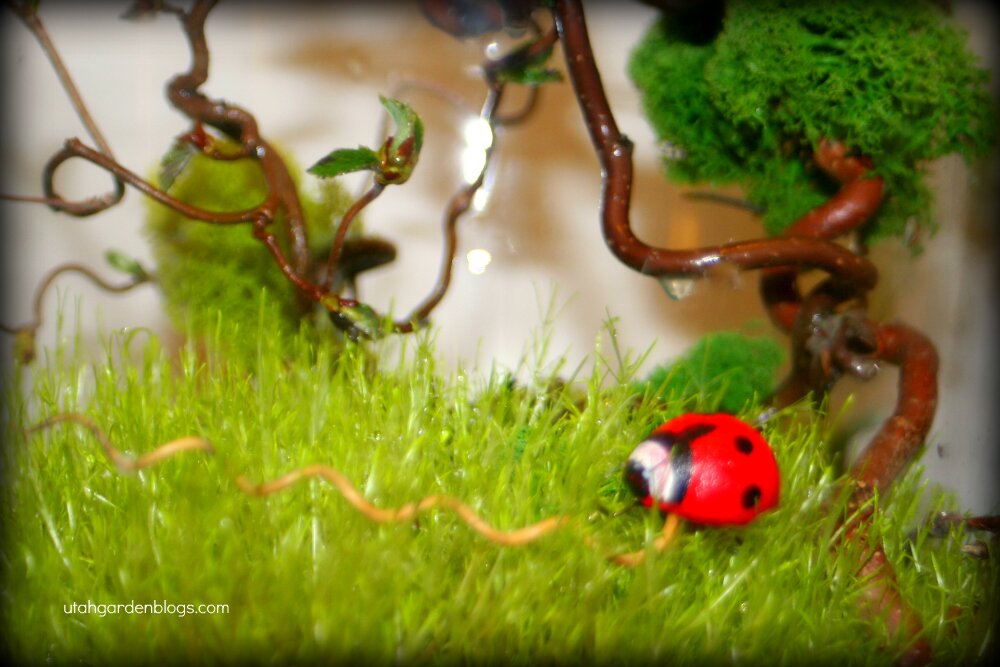
Decor. You can add fancy rocks, ceramic mushrooms and/or gnomes, fake bugs or if you’re REALLY brave- real bugs! Ask your kids if they have something special THEY would like to contribute then give that item a place of honor in the terrarium. Decor can also include twigs, branches or even preserved mosses like Reindeer Moss.

I clipped some of the twisted branches of my Contorted Filbert shrub in the yard.Carefully add your decor elements to fill the vertical space in the jar. This photo includes Contorted Filbert branches, Preserved Reindeer Moss and a succulent clipping (which will only live for a month or so).Side view of the Scotch Moss Terrarium

You can simply tear the plug of moss to the size you need- it will all seam back together over time in your container!

This version uses dark green Irish moss, Mexican black pebble, and dried bits of Corkscrew Rush.

Similar shapes and forms but different elements used to achieve it.
Terrarium Care:
These plants will like a room with reasonable light but do NOT want to be placed in direct sunlight or you’ll risk overheating them. The terrarium is a miniature greenhouse! I would recommend taking the lid off and letting it air out at least once per week, probably on the day you water. I have only watered these once with 1/2 cup of water. They shouldn’t need watering more than once every week or two.
Note that terrariums are meant to be ‘temporary art installations’ in your home. you WILL need to dump the whole thing out and start over at some point but you should expect to enjoy at least 3-6 months of beauty before you reach the ‘time to start over’ point. The good news is that the gravel and jars can be reused so just clean the jar, pop in some new activated carbon and replant. Easy peasy even for the ‘houseplant impaired’ folks like me!


 Subscribe in a reader