

I impulse bought purchased my topiary frame at Tai Pan Trading. Tai Pan is always good for some retail therapy and when I saw their displays of decorative wire objects, I knew I had to try this project out!
I had the joy of finding plants in February that weren’t going to cost me an arm and a leg. J&J Nursery in Layton is the best bet for that! J&J is enormous, grows many of their own trees and offers retail prices that are, frankly, not much higher than wholesale! They also maintain a fabulous collection of succulents year-round and are well-worth the drive. Ultimately, I only lost a leg there which was good because I needed both arms for this project!

My plant helpers with our awesome stash!
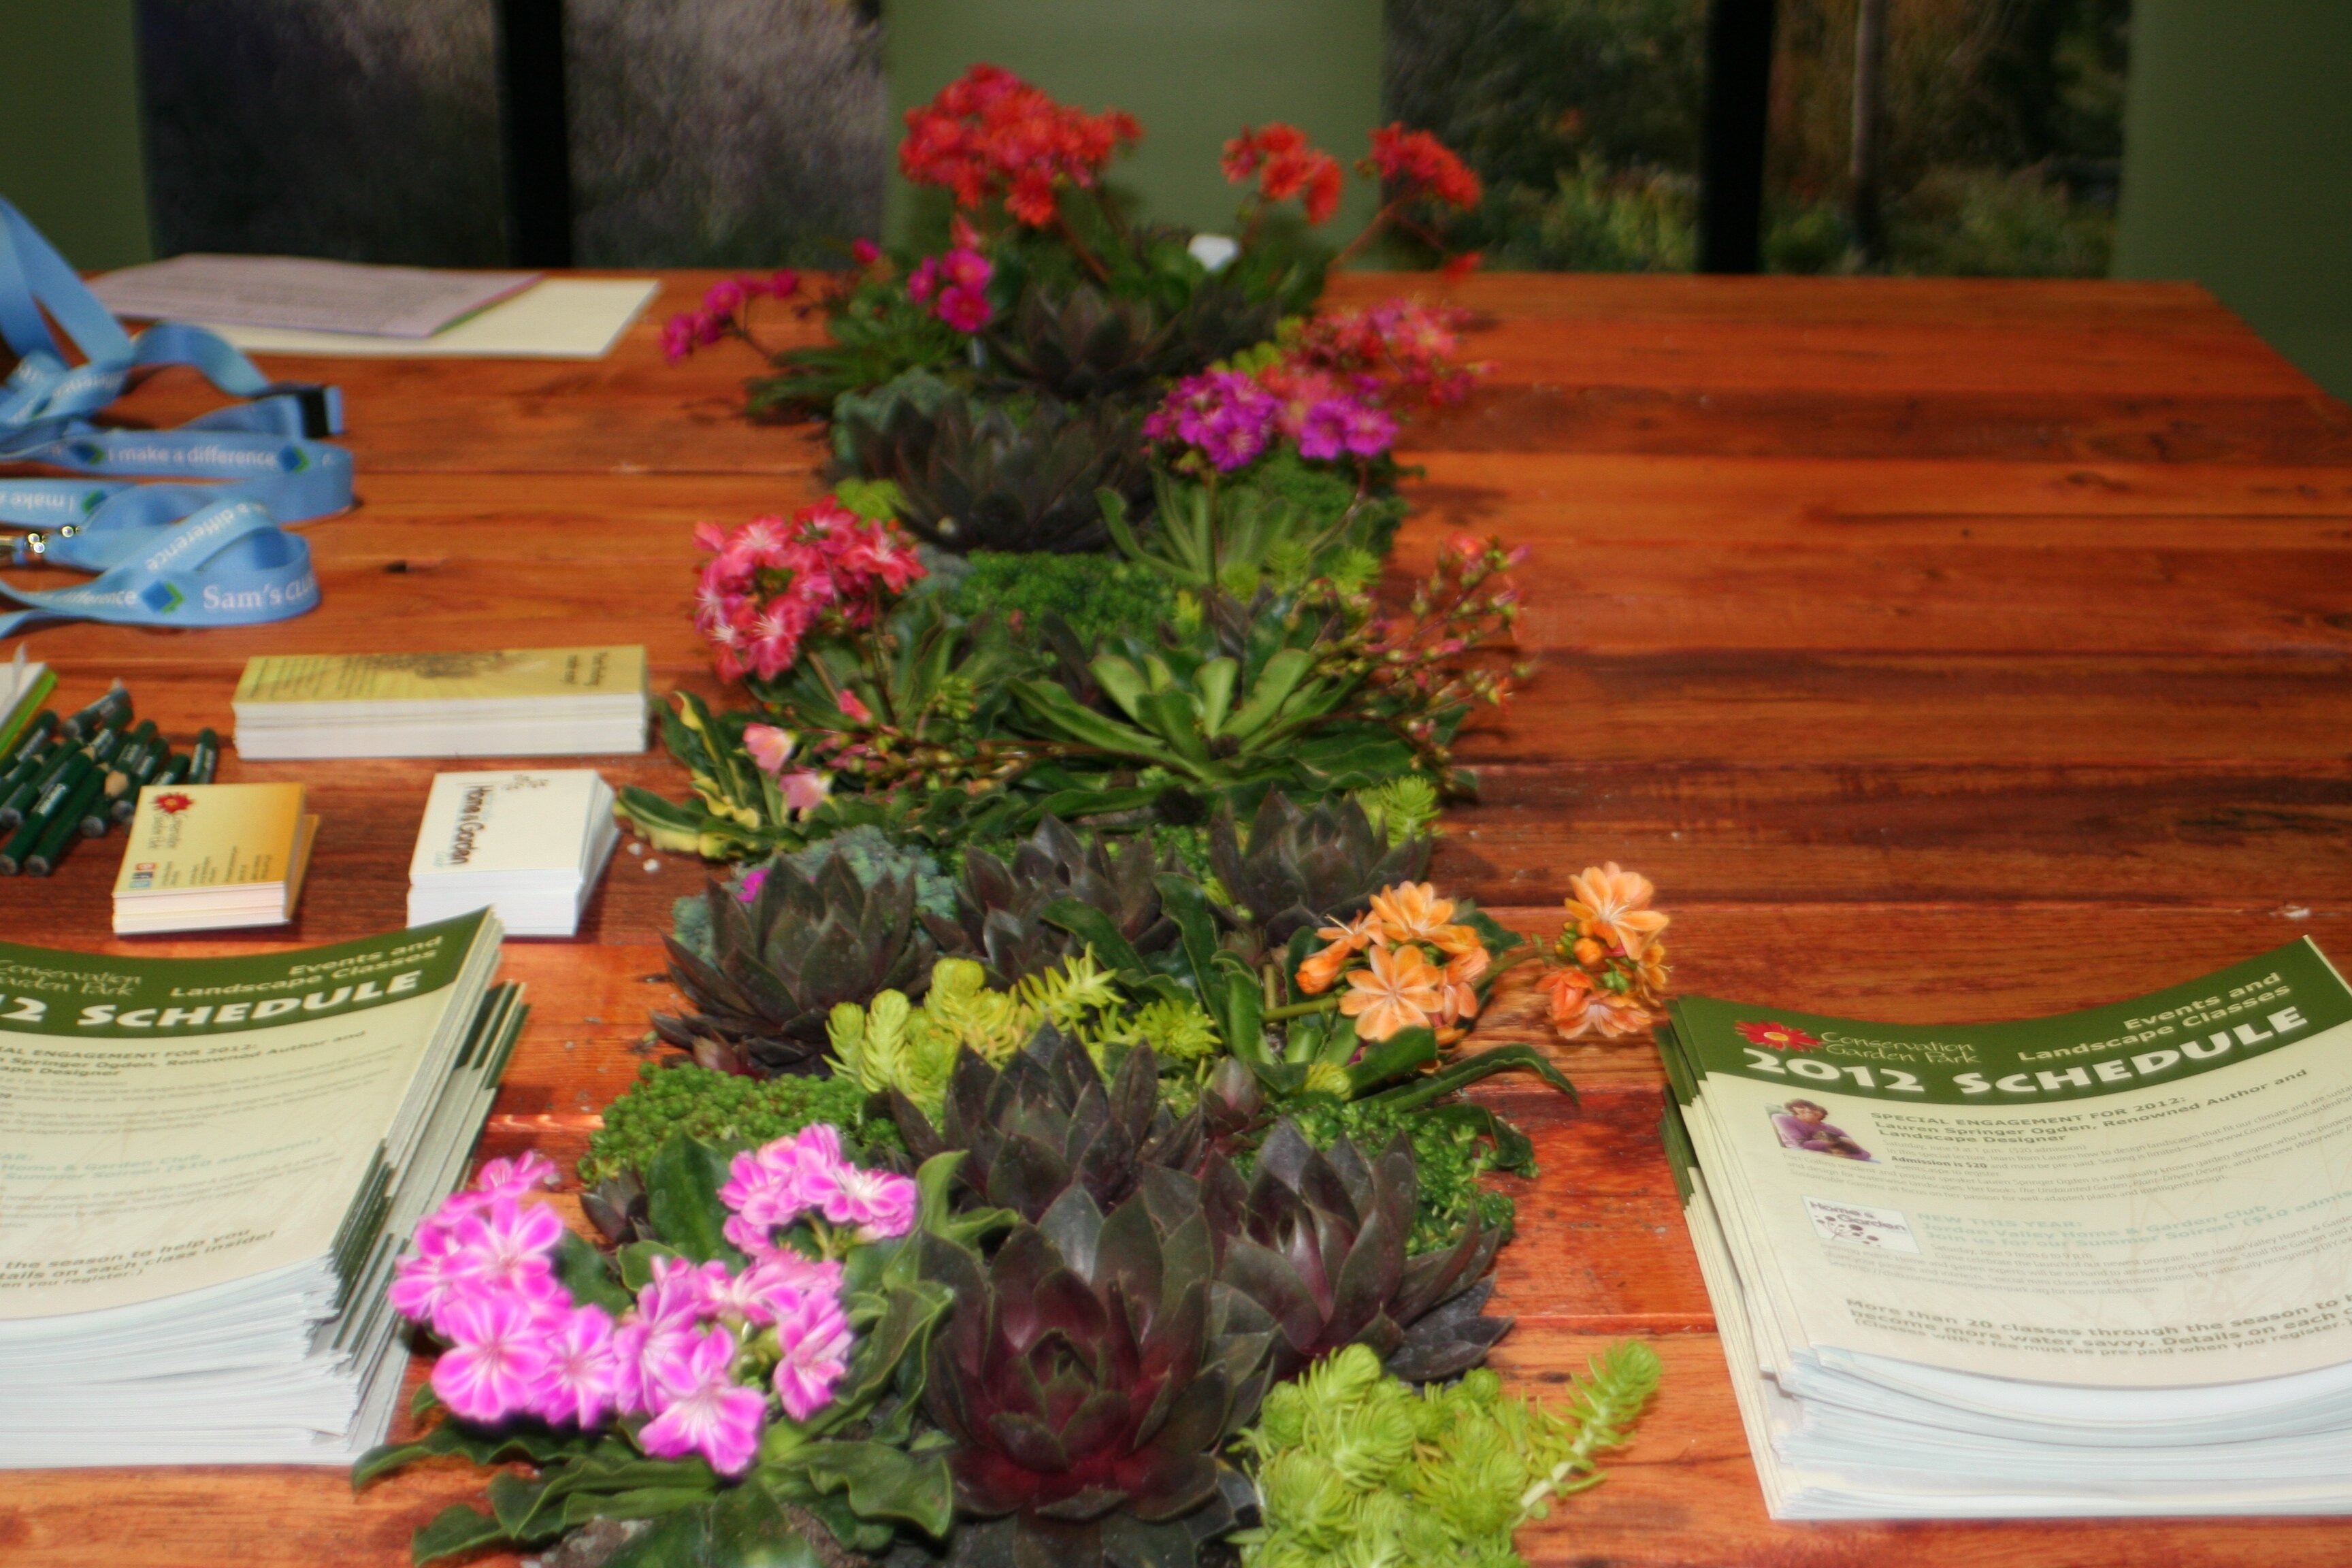
When selecting your succulents, look for containers that have multiple plants already in them as it saves money. For this project, small plants are best- buy them in as small a size possible as it will be easier to fit them in the frame. You’ll also want to get the most diverse range of color and texture available

Our selections. All but the large plants in back are destined for the topiary.
DISCLAIMER: If you have UNNAMED cultivars, you can take cuttings and propagate your own succulents and sell them if desired. I have heard it both ways in terms of propagating a patented plant for personal use- which I believe is okay but don’t quote me! I know for sure you can’t sell them!
For this project, I made sure to acquire ‘generic’ plants labeled with a tag that only says ‘succulent’ on it so as not to get myself in trouble for illegally propagating (and encouraging others to do the same). Growers spend a great deal of time, effort and money to breed the named varieties and have the reasonable expectation of profit from their work. Selling cuttings of named cultivars without a license and paying royalties is stealing. I’m covered either way as, after all the work involved, I’m so NOT selling this baby! Killjoy moment over!
Supplies:
- A wire form of some type.
- Moss- sphagnum works well.
- Wire cutters.
- Cactus mix potting soil.
- Succulents.
- Patience.
If you lack that last item above, you can opt for the cheap and easy version below, a single Kalanchoe thyrsifolia (Flapjack Plant/ Paddle Plant) in a protective cage (I have kids & cats). Between the plants ability to handle neglect and the safety of the cage, this houseplant just may survive around here!

A caged Kalanchoe!
No? You’re ready for a larger commitment? Then let’s do this thing!
Start by preparing the form- If using loose sphagnum moss, pack it around the wire frame then fill the form with soil. Soak the form and allow it to drain completely. It is now ready to go.
-

- Weird moss sheets from Tai Pan

If using special sheets of moss (as I did), cut the sheets of moss to fit the frame then secure to the frame with safety pins or thread. I got my moss sheets at Tai Pan and they have a foam backing. I had a specific reason to use this product (my topiary will be displayed for 20,000 people in 3 weeks so it needs to look good quick) but it’s probably better to go with the more natural first method above if time is on your side.
Prepare your succulents. I will list the types I used at the end of the post for those interested (to the best of my ability anyway since they don’t have specific plant names/tags). To prepare them, remove the small ones from the containers and get as much soil off them as possible without disturbing the roots too much.
-

- Dividing up sections of a Jade plant.

Put all rooted pieces in one container. You will add these pieces after you get the larger ones in place.
-

- Rooted plant sections

Clip the tips off larger plants (leaving at least a 1/2″ to 1″ of stem- pull off the lower leaves if needed to create the stem) and set them in a separate container with other plants needing to be rooted.

A more mature Echeveria with babies- just separate each florette from the central 'Mother' Plant
Create openings in the wire and moss for your rooted plants. I counted the number of larger plants I had then made the openings for them by cutting the wires to create 1/2- 1″ openings. If your openings are too narrow, the plant will become ‘girdled’ as it grows and it can kill the plant.

Wire clipped and hole made in moss to accomodate a larger succulent.
Be generous with the openings, you can always fix the plant in place with florist pins or tie them in place temporarily with dental floss if needed.Wire clipped and hole made in moss to accomodate a larger succulent. Place all your larger plants in their spaces.

The larger plants (mostly echeverias) are in the form.
Fill the topiary cavity with soil (if you opted for the moss sheets as I did), being careful not to break off any roots. Note: The soil should be moistened with water first. I dump it into a big bucket, add water, and knead it with my hands until the soil is uniformly moist but not soggy.

Filling the form with soil- the hard way!
Close up your topiary- for me this required the midnight help of my less-than-thrilled spouse as mine is rather large and quiet heavy! Next, using a sharp pencil, poke openings in the topiary for the smaller rooted cuttings. Filling the form with soil- the hard way!

adding the smaller rooted succulents and scabed over, unrooted succulents
Place the topiary in a plastic bag and fill the bag with air so it will not touch your plants. You’ve just made a mini-greenhouse that will help your plants root faster! Check your plants every day or two and when they stay in place when gently tugged, they’re rooted and ready for display!

A Mini-Greenhouse will help plants root- just don't leave them in the bag for more than a few weeks
Remember that bucket of unrooted cuttings? Allow them to dry out until you see that the cut end has formed a ‘scab’. It can take up to a couple of weeks for this but mine were nicely scabbed over in a couple days due to the extreme dry air that is a heated Utah house in winter! As soon as that happens, you can add them to the topiary or you can wait until the roots sprout THEN add them to the topiary. Seal your greenhouse back up and you will soon have a beautiful topiary.
adding the smaller rooted succulents and scabed over, unrooted succulents
Since the plants WILL produce more babies, don’t feel like you have to spend a fortune (as I did) on many of the same plants. If you can be patient, you can eventually fill in the whole form just by taking the tip trimmings from the plant and adding them over time.

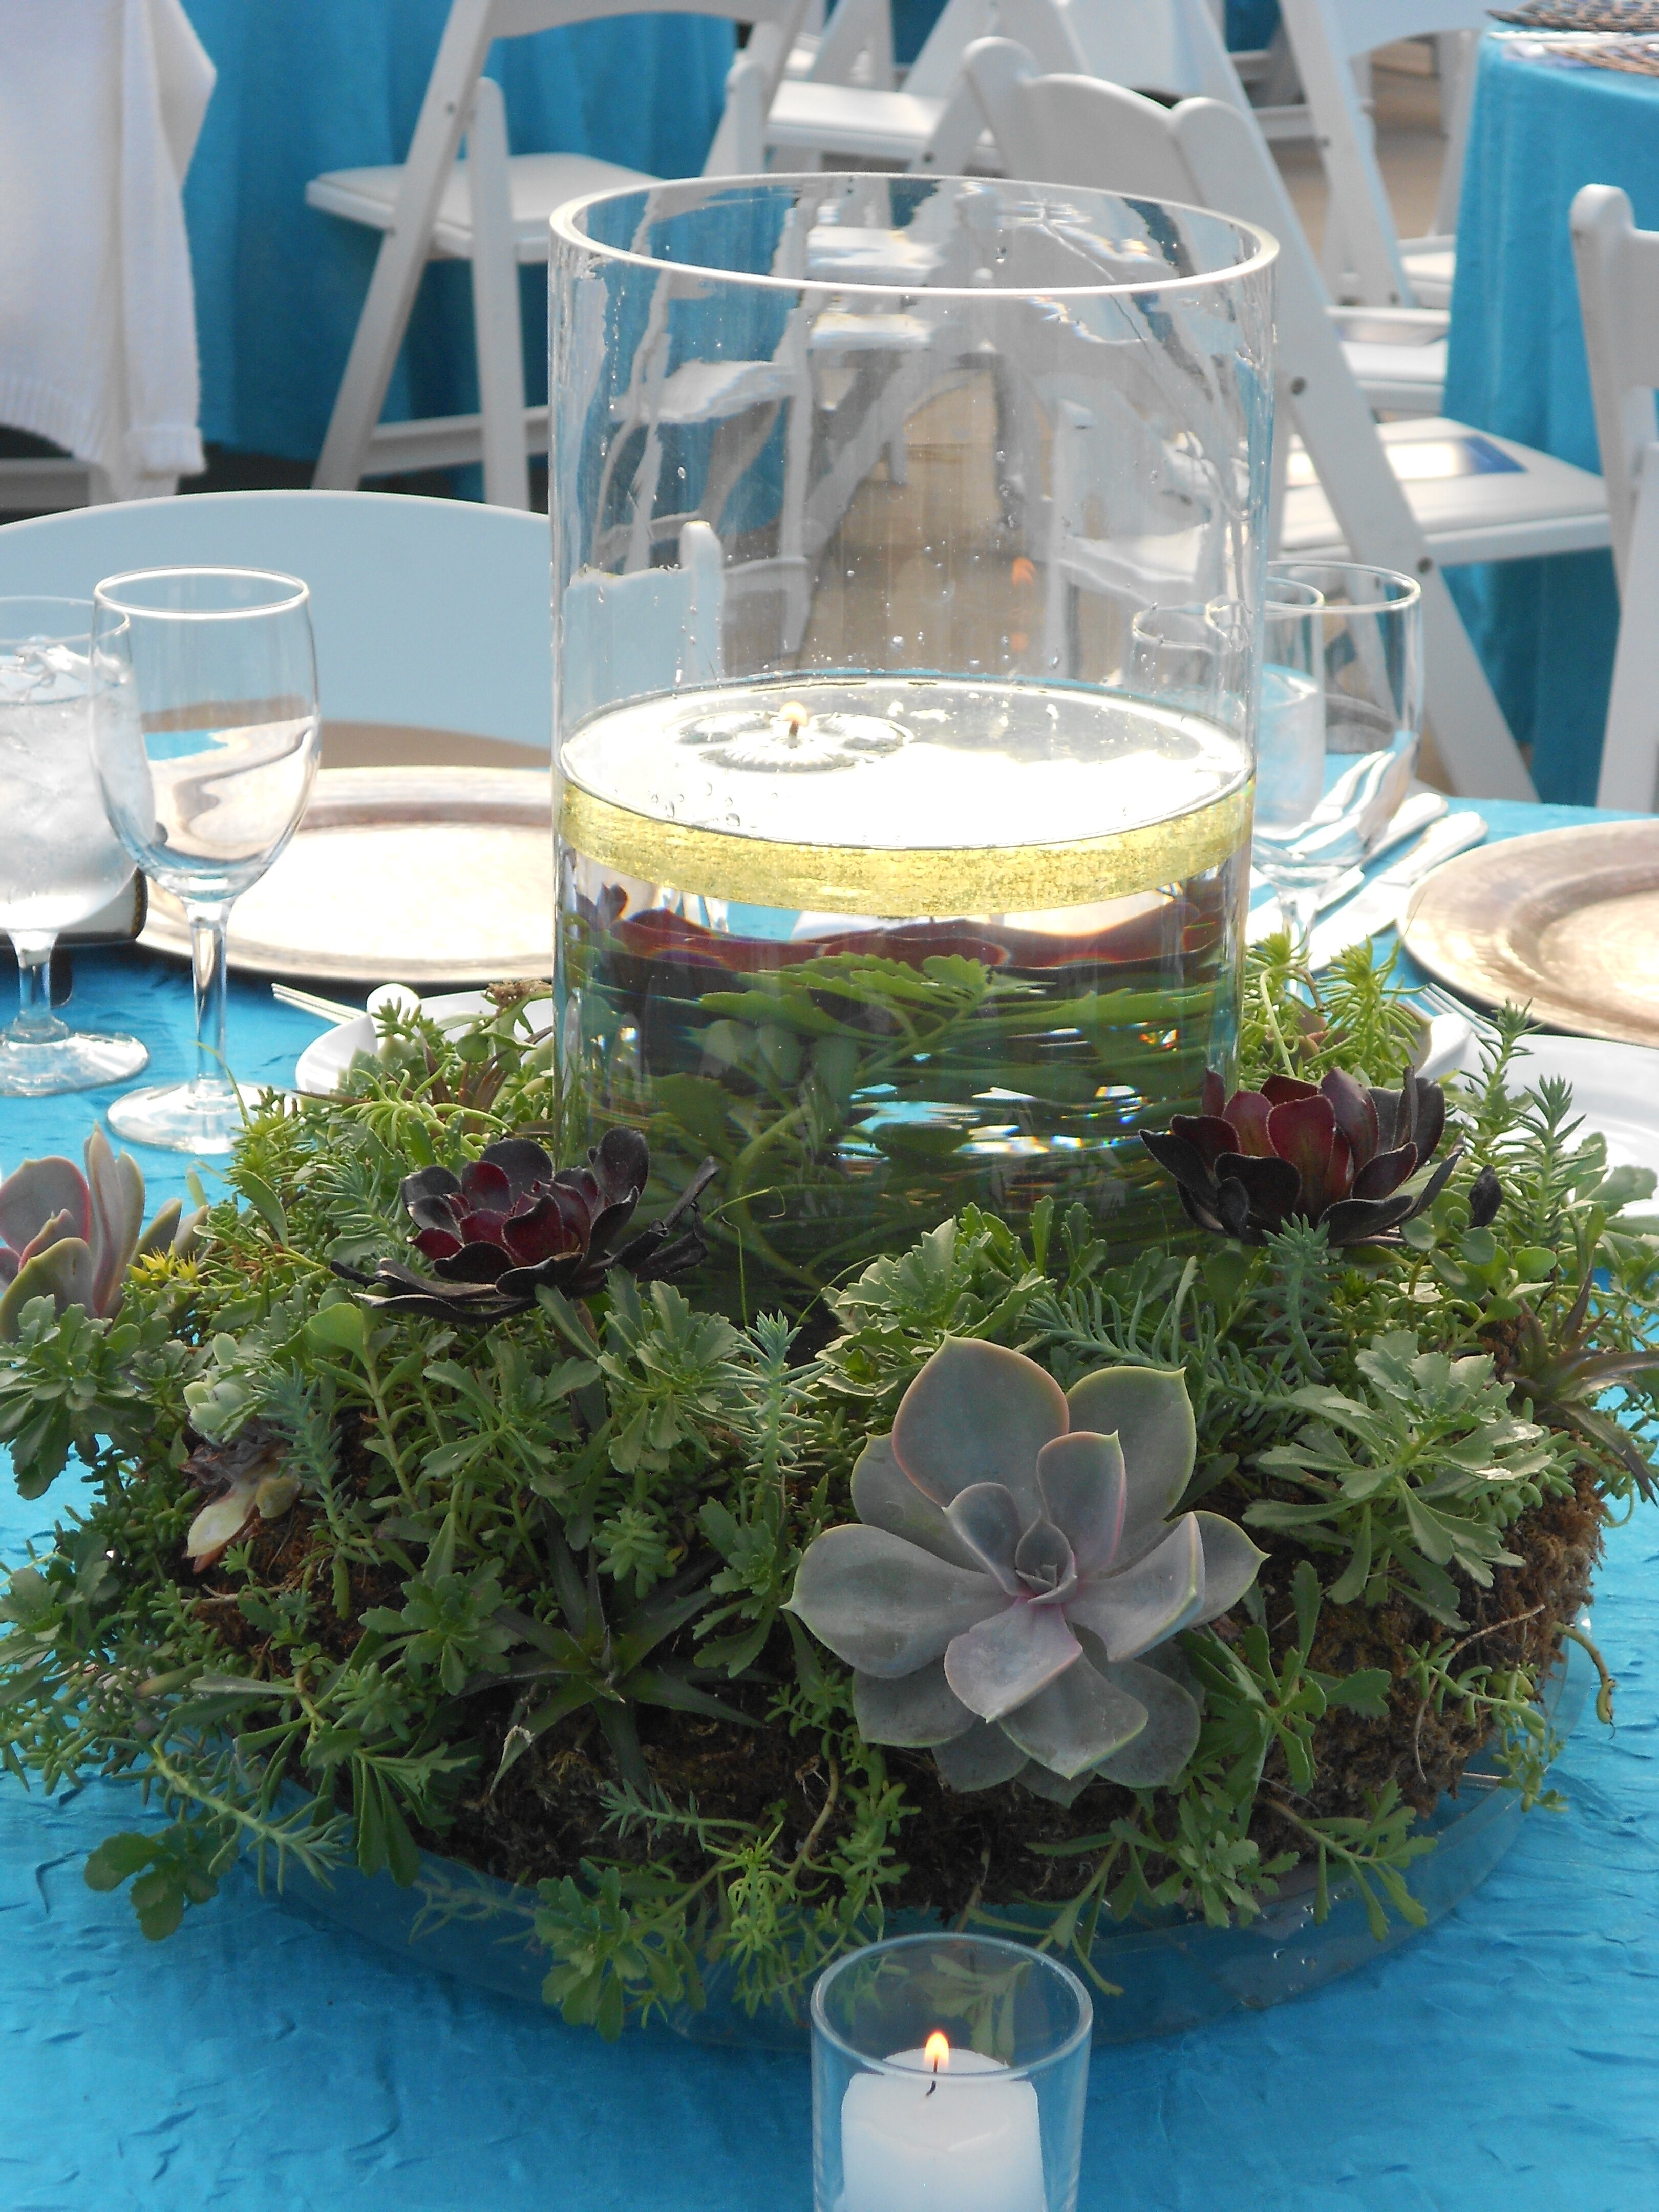
The 'finished' succulent topiary
You can also use hardy sedums and sempervivums instead of the tender succulents I chose. This leaves you with a frost-hardy topiary, wreath or picture. To water the plants, you can either mist them with a spray bottle frequently or spray them in the sink with a gentle stream of water and allow to drain fully. How often you need to do either depends on the size of the topiary and the water-holding capacity.
Plants which are suitable for creating succulent art:
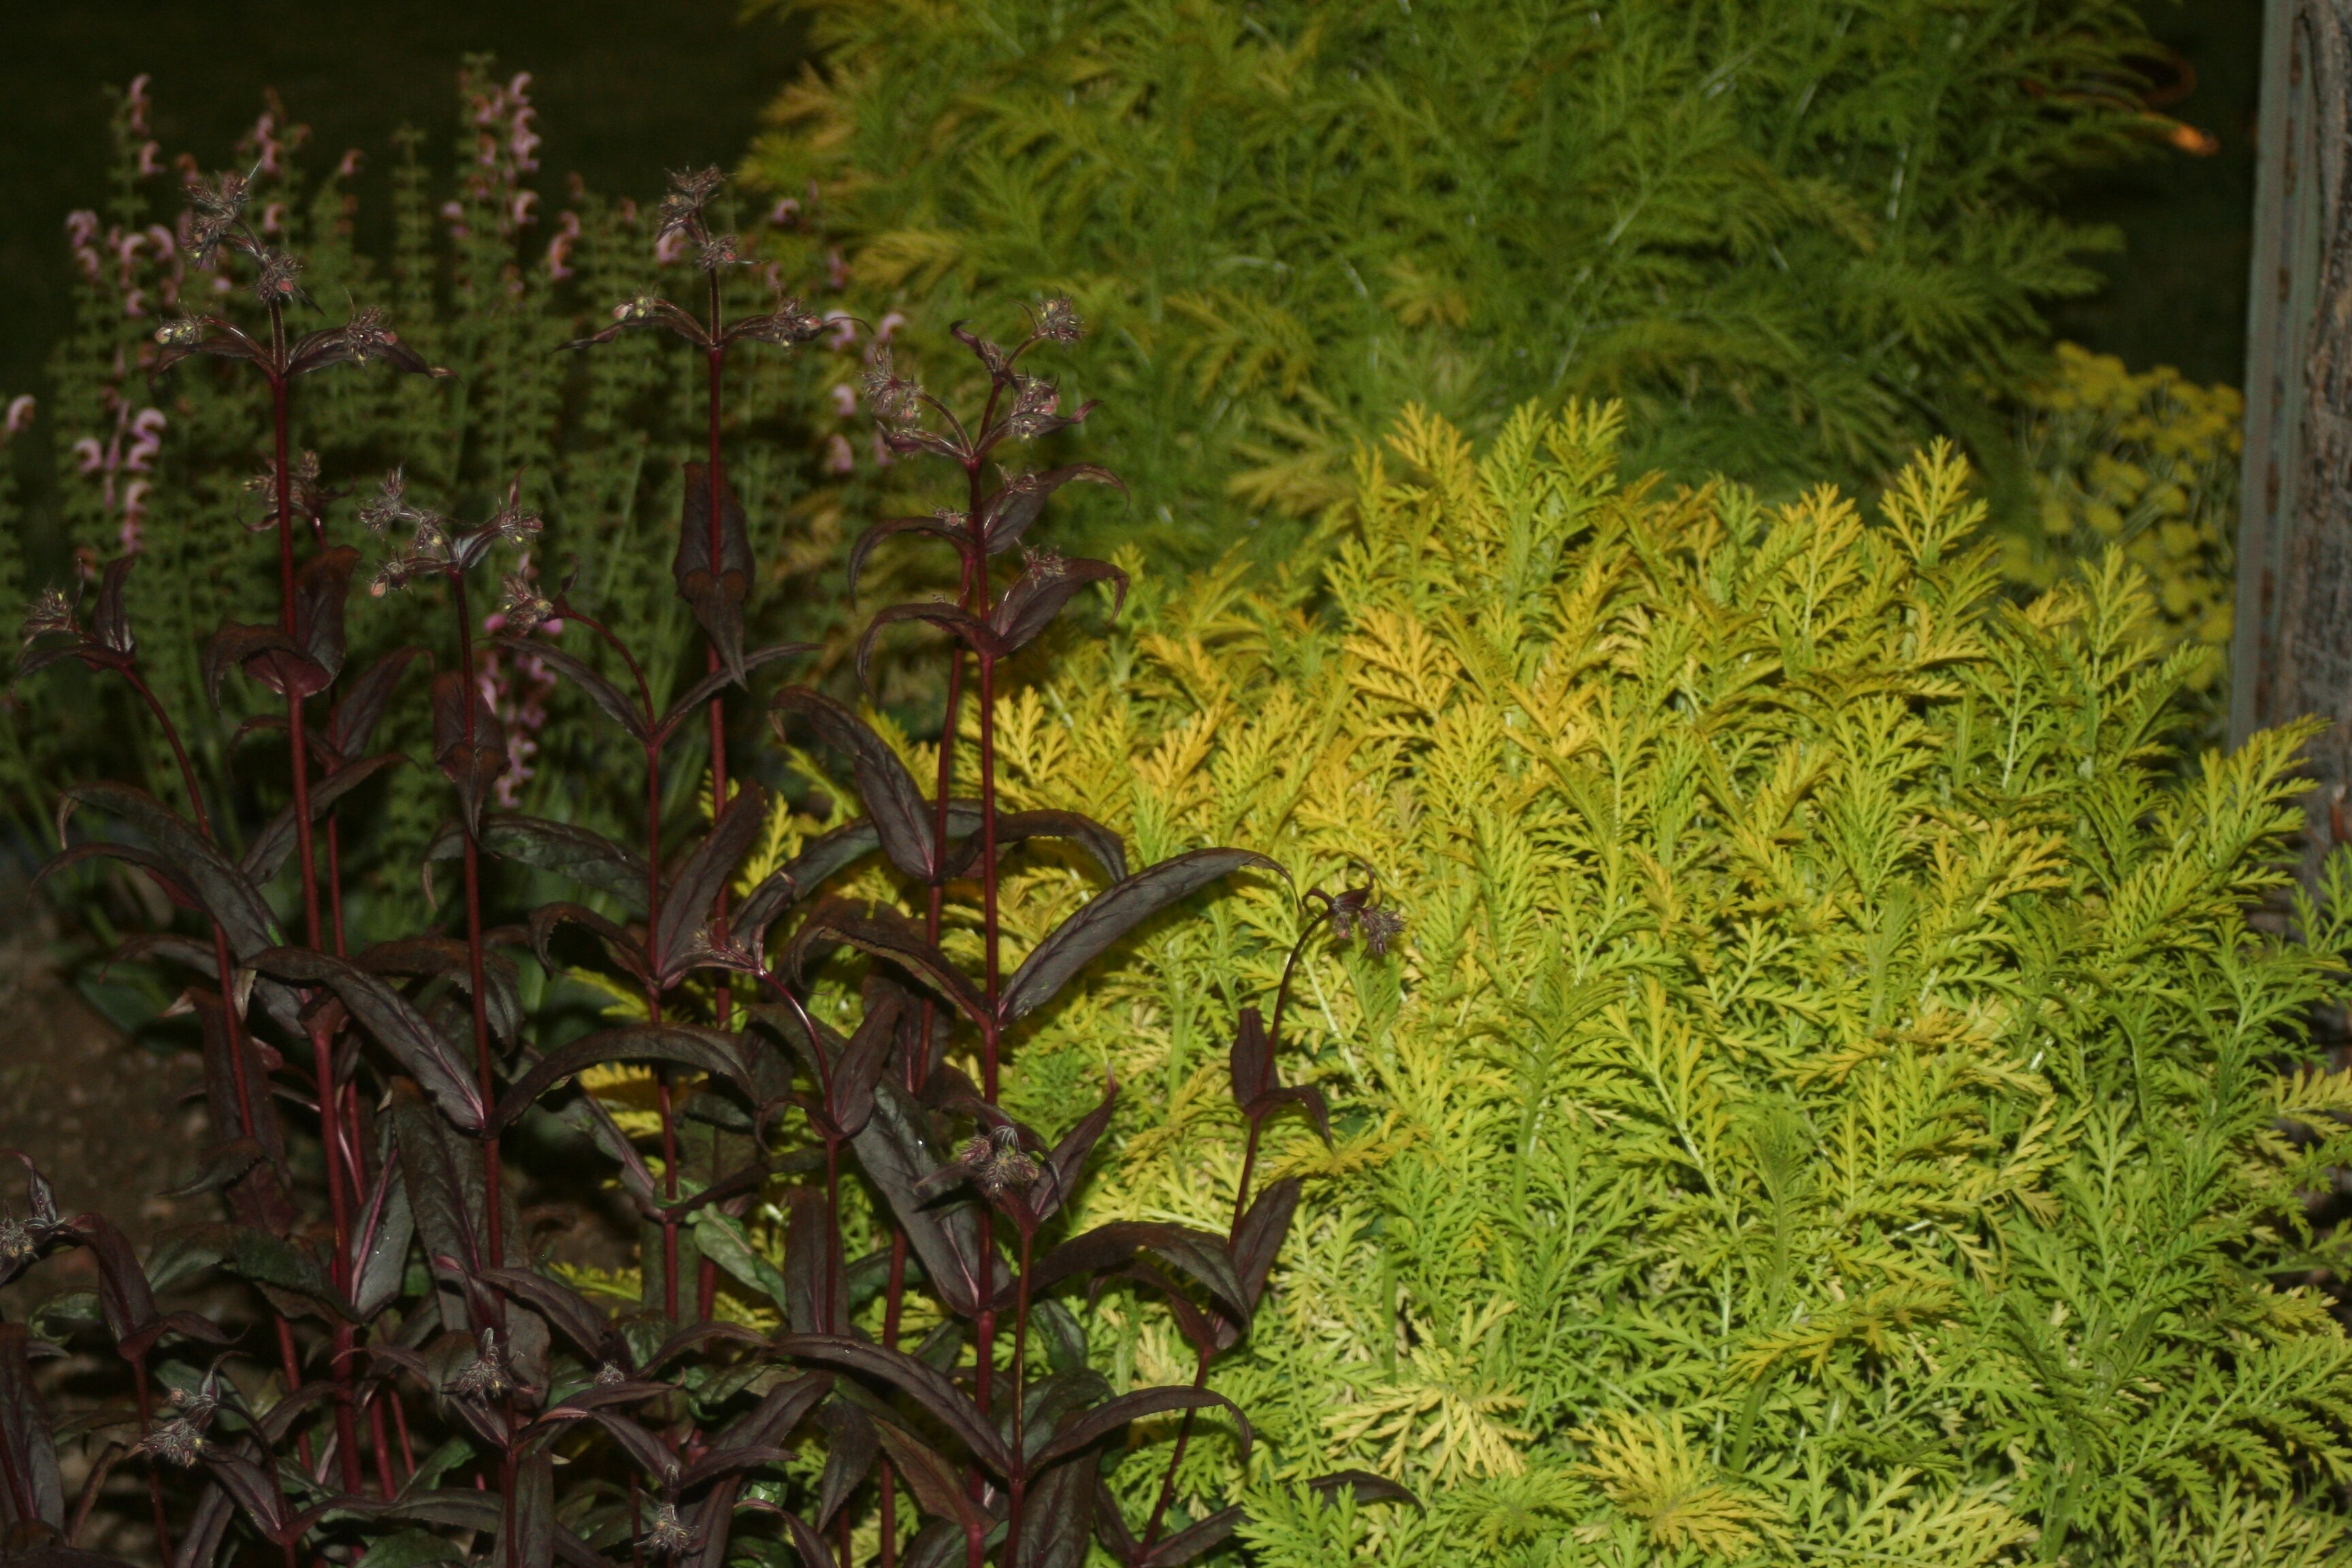
Tender Perennials (in our Utah climate):
- Aeoniums- these come in your standard green, black, and variegated varieties.
- Crassula– shades of blue, orange, yellow, gray and green. Some grow quite large, choose carefully.
- Echeveria– many gray/blue/purple forms. These can grow fairly large so be prepared.
- Kalanchoe- greens, grays and variegated forms- choose smaller varieties.
- I’m sure I used others as well but without any plant names, I’m not sure what all I have.
Hardy Perennials:
- Sedum– comes in nearly every color and form imaginable. A HUGE genus with both hardy and non-hardy forms.
- Sempervivum- known to most as ‘Hens and Chicks’. Mostly greens and burgundy tinted plants with some blue-purple-gray colorations out there.
 Subscribe in a reader
Kathleen
February 2, 2012 at 12:48 pmI have a 5 ft tall giraffe, purchased it ready made 20 years ago. Filled with creeping fig. It was beatiful. Unfortunately moved, didn’t place properly, and it passed on to greener pastures.
Times change, am doing a succulent garden in my new home., started with a 6 X 8 ft map of the US!!
Would like to rework “Jimmy Giraffe” and use sempervivums or ground cover sedums . Although I’ve been a home gardener for 35 years, I don’t know much about succulents.,
Jimmy was falling apart, so I filled empty spaces with spagnum, and want to try succulents.
Any suggestions?
Cynthia
February 4, 2012 at 1:19 pmI would suggest that you start with sempervivums. Long-term they are more drought tolerant than sedums. You may want to experiment with mixing coconut coir in with the interior mix for the topiary- it will hold 10 times it’s weight in water but doesn’t have the same negative issues as peat moss- avoid peat moss with succulents!
I’ve had a lot of issues with soil settling in this topiary over time and it’s been tough trying to keep it going. I actually ended up making some changes to it (removing the plastic bowl and punching some holes into the bottom of the container for drainage). I even filled the bottom part of the container with gravel ONLY as I was having issues of swampiness (that is a word, lol!) in the bottom but dryness on top. I am trying to decide if it’s worth renovating the topiary or if it’s lived it’s useful life span.
I’d love to see the projects you finished- they sound amazing!
Julie Littlejohns
July 20, 2012 at 8:52 pmHi, I would love to see your latest photos on this, to see how it is going now 5 months later? I have been considering doing one myself, just curious, I know it will look awesome now, Im sure of it!
Brilliant idea, thankyou!
Cynthia
July 22, 2012 at 8:19 amI learned a lot about the wreaths, their care and plant selection. First, I would NOT recommend using sedums for the filler. I found that the non-hardy “California” style succulents will do great in a wreath situation. I learned that sedums do not. I have recently made a NEW wreath using only the non-hardy succulents and it’s working out much better. The sedums seemed to die out within about6 months whereas the other plants continued to look nice for much, much longer. For a tutorial on the new wreath, follow this link: http://club.conservationgardenpark.org/2012/07/diy-blogger-house-tutorial-how-to-make-a-succulent-wreath/
[BLOCKED BY STBV] A Guide To Canine Topiary
February 20, 2015 at 5:00 am[…] a wide variety of colours and textures to add as much visual appeal to your topiary as possible. Here is a more detailed guide on how to prep your succulents and a few suggestions on which work […]